Stalker Guide for the Steel Path Circuit Solo Level Cap
This post explains how to use Stalker without relying on weapons in the Steel Path Circuit. He is often rated weak, but with a little knowledge and skill he can reach the level cap in solo play.
Youtube Link:
[Warframe] Stalker | Steel Path Circuit Solo Level Cap [Patch 33.5.6]
9/30 Add Jackal; Revise Decrees, Others, and Defense Positions.
Abilities
Teleport
If you have a good melee weapon, it can be useful when you just want to kill one enemy like a Power Carrier in the early stages, but not important.
Marked
No need to use
Smoke Screen
Always use when not using Punishment. Especially used when collecting Vitoplasta in Void Flood, carrying Power Cells in Excavation, and resting after getting enough life support modules in Survival.
Punishment
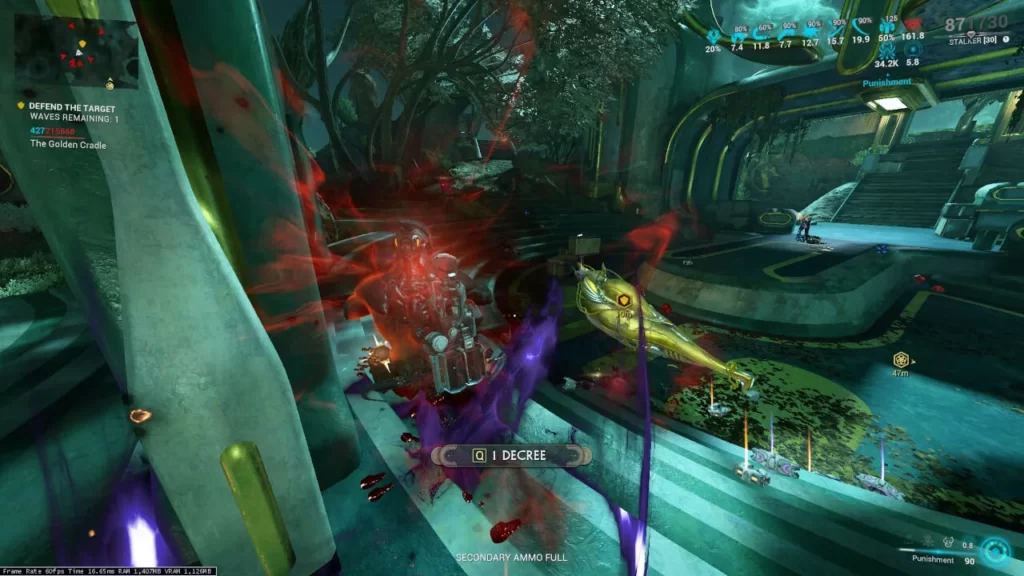
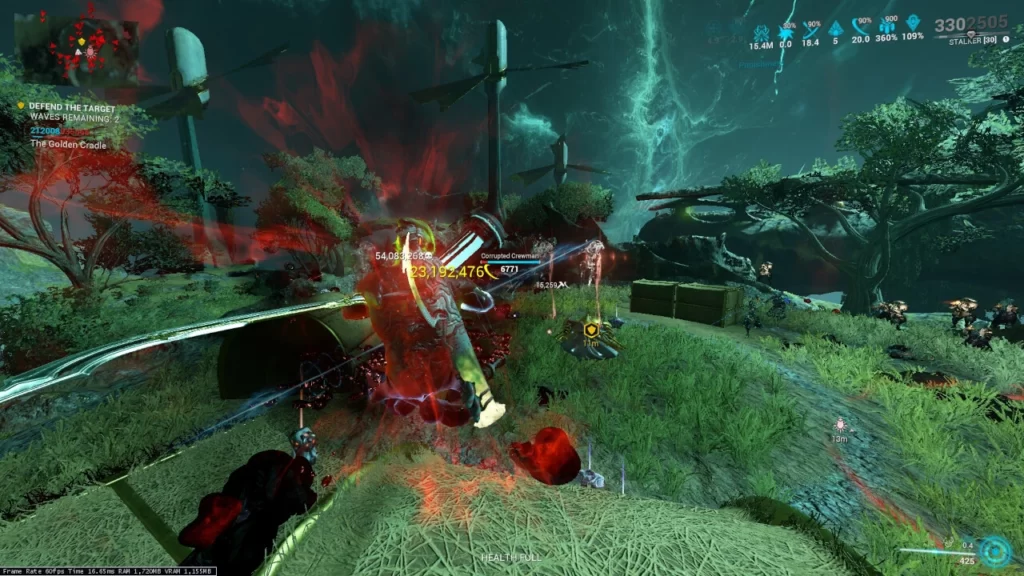
You will kill enemies with this ability that absorbs incoming damage and cast it back at enemies. Since enemies’ health and shields scale more slowly than their damage, the higher the level of enemies, the easier it is to defeat them.
Since projectiles are hurled toward the reticle, you can attack a wide range by moving the reticle quickly. It’s better to practice aiming at enemies to some extent if you want to challenge high-level Defense.
As Punishment increases his Threat level to taunt enemies into attacking him, you have to secure enough energy with Decrees and continue to use it to protect the objects in high-level Defense and Excavation. Although the invincibility of Punishment is interrupted when you reactivate Punishment, the shield recharge starts during the invincibility, and you can reactivate it during the 0.33 seconds of invincibility obtained by the incomplete Shield Gating, so you can be virtually invincible all the time.
Decrees
Importance: Red > Blue > Brown
Morale Boost, Proficient Fighter, Envious Economy, Bounce Back
Getting enough of them to keep using Punishment is a prerequisite for the high-level Defense after the 10 stages. It’s not necessary to maximize all ranks, but since the position is important as described later, you have to take into account the energy loss by Magnetic Status Effect.
Close Contagion
You can quickly defeat a wider range of enemies by spreading the Slash procs. It is risky to challenge the high-level Defense without it especially if you are not good at targeting enemies with Punishment.
Bombastine’s Malice
Although it is inferior to Close Contagion, You can deal damage in a wider range.
Critical Frost
Cold procs can slow Jackal to attack the back legs with Punishment and meet requirement of Baneful Harmony.
Baneful Harmony
Viral procs indirectly increase the damage of Punishment, and it goes well with Critical Frost, Bombastine’s Malice, and Close Contagion.
Twofold Torment, Fearsome Bonanza, Vicious Barb
They increase the damage of Punishment. Decrees that enhance Critical Damage have a lower priority due to the low Critical Chance.
Fortified Will, Corrosive Grit, Scornful Cast
Increasing Ability Strength increases the amount of stored damage.
Nourishing Terror, Greedy Heal
Getting them for Morale Boost is useful in case your health is reduced due to Endurance Intrinsic “Cheat Death”.
Fleet-footed, Temporal Acceleration
They increase movement speed during Punishment.
Tumbling Frost
Although inferior to Critical Frost, it is an option to slow down Jackal.
High Level Defense
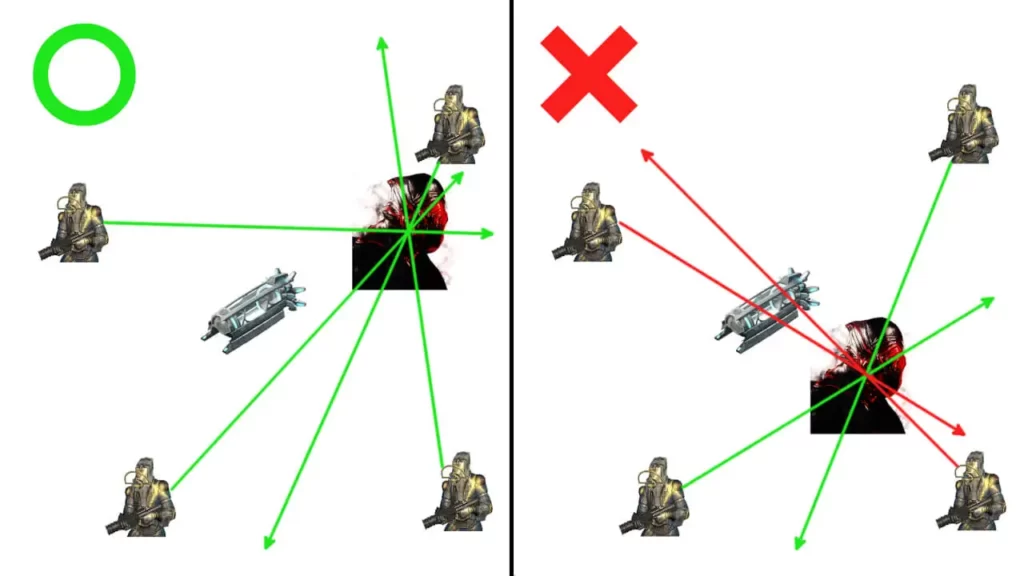
It is necessary to stand in a position where the line of fire from the main enemy appearance position does not pass through the Defense Object as a countermeasure against stray bullets. (the figure below)
In addition, you have to prioritize attacking in the direction of the appearance of enemies that cannot be taunted from the position and the direction of enemies that move to the position to be able to attack the Defense Object. Basically, it often prioritizes attacking the furthest position from Stalker, but you should decide the appropriate direction to attack depending on the situation while also looking at the minimap.
Besides, if the range of a grenade includes the Defensive Object, it is required to hit the grenade with Punishment to destroy it.
High Level Excavation
What you should do is pretty much the same as above, but the timing of going to pick up a power cell is difficult. It may be more stable to carry 2 power cells with your frame and operator and protect the Excavator for 60 seconds each.
Jackal
・Since Jackal is immune to damage of Slash procs, armor removal is recommended. Unairu’s Caustic Strike is the easiest, but you can also use Shattering Impact with a melee weapon that has Impact damage.
・It is difficult to attack the back legs from the front with Punishment. If you inflict Cold Status Effects, you can absorb his attack in front* and then move to the outer rear to destroy the legs. There is also a way to climb up to a high place and aim from above because the projectiles of Punishment penetrate the dome barrier. All that said, it’s faster to use a strong weapon if you have.
* The attack from the turret at the back is very weak. That may not be scaled according to the level.
Others
・Zenurik is good if you can use Shattering Impact and you have to rely on Punishment in the early stages due to pity weapon choices. Primary Exhilarate is also an option depending on the primary weapon.
・There is no need to wait for your shield restoration if your shields remain when Punishment is activated, so you can fire early by pressing the corresponding key again.
・If you switch to the melee weapon when using Punishment, there is a possibility that you can prevent damage by blocking even if the reactivation is delayed.
・You can use Smoke Screen during Punishment.
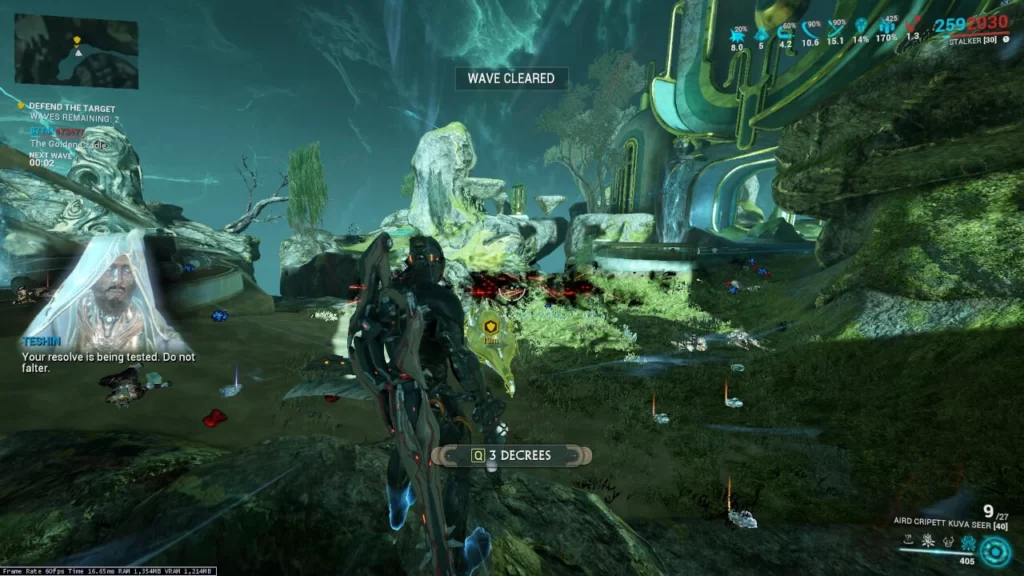
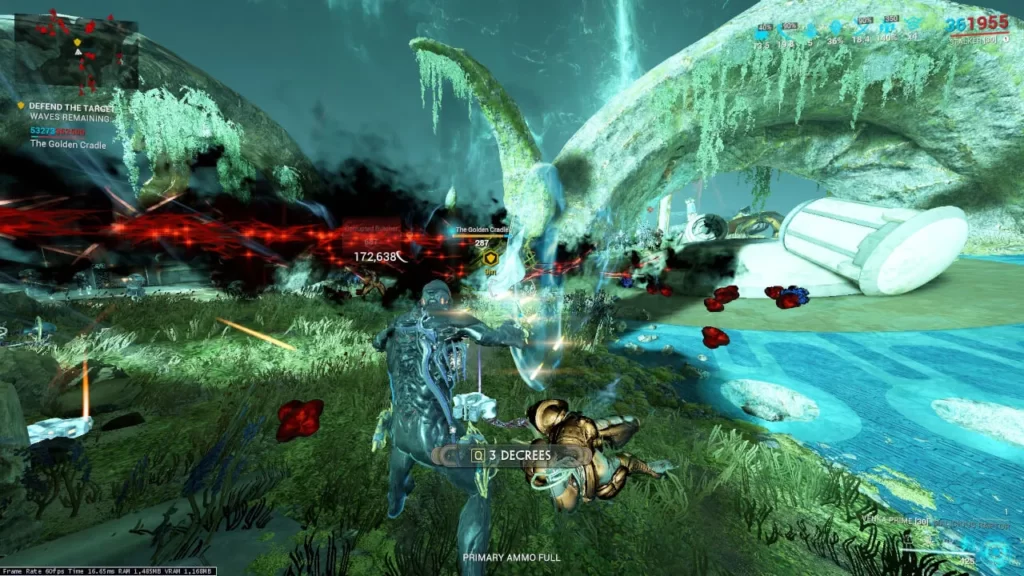
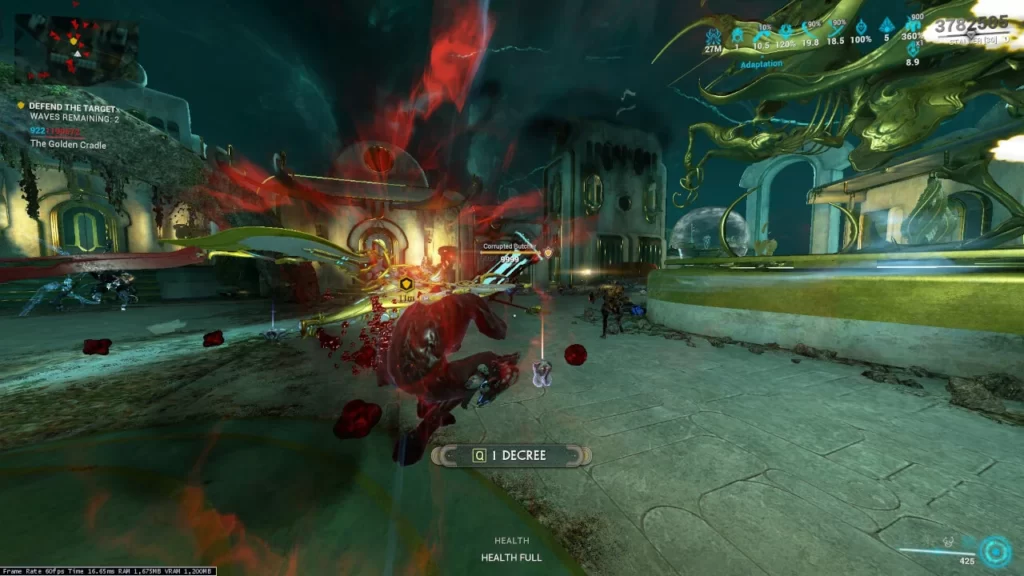
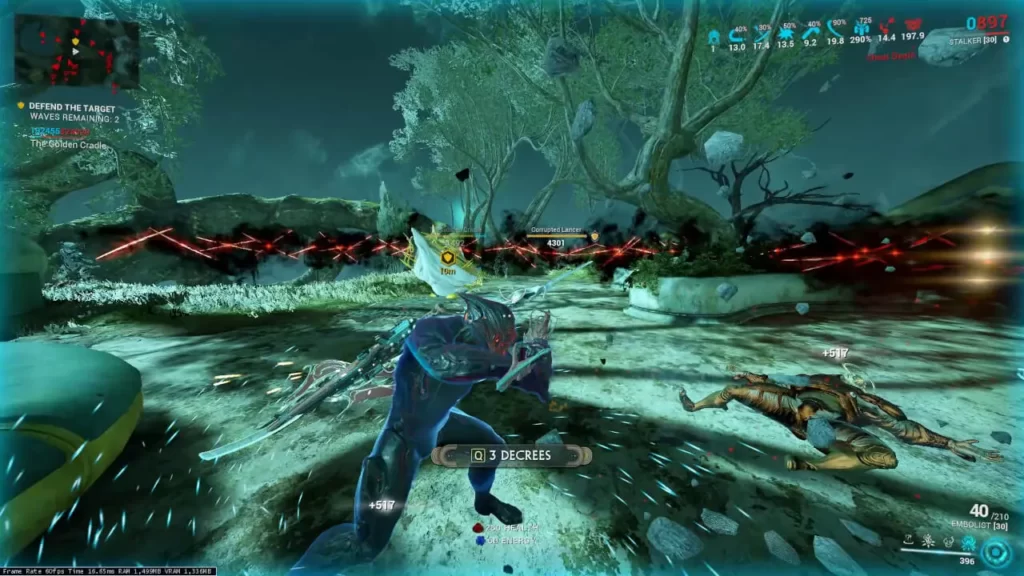
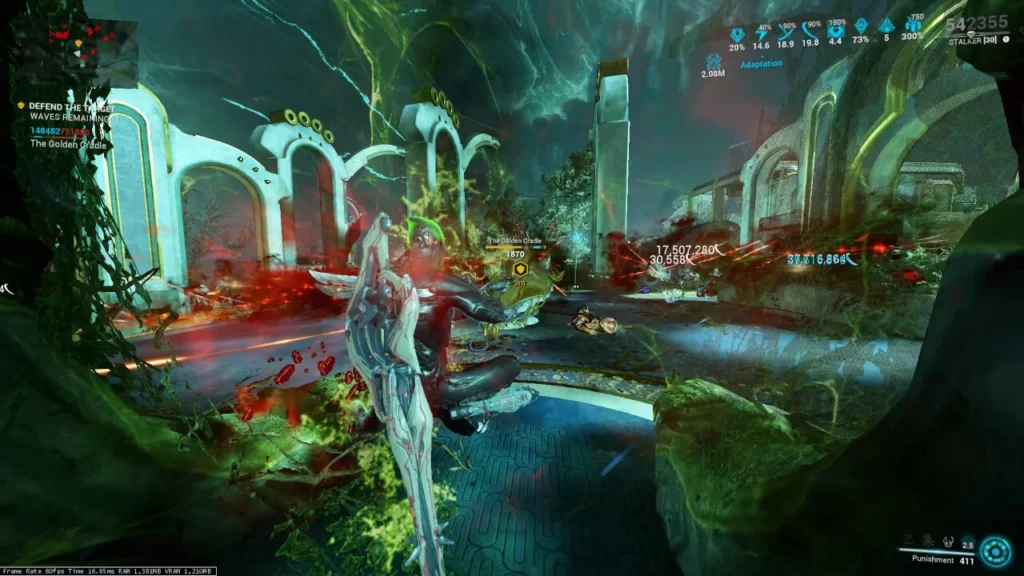
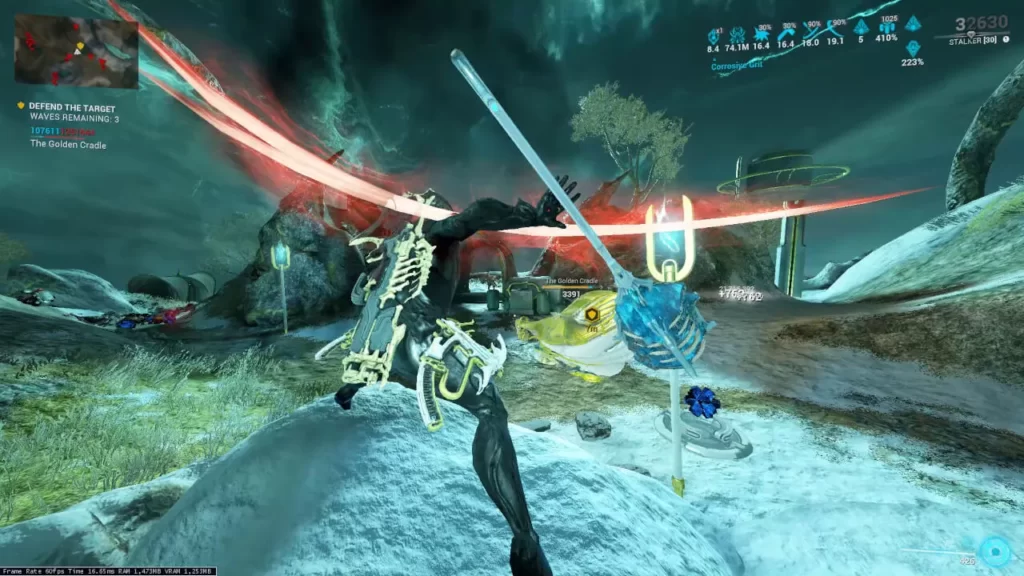
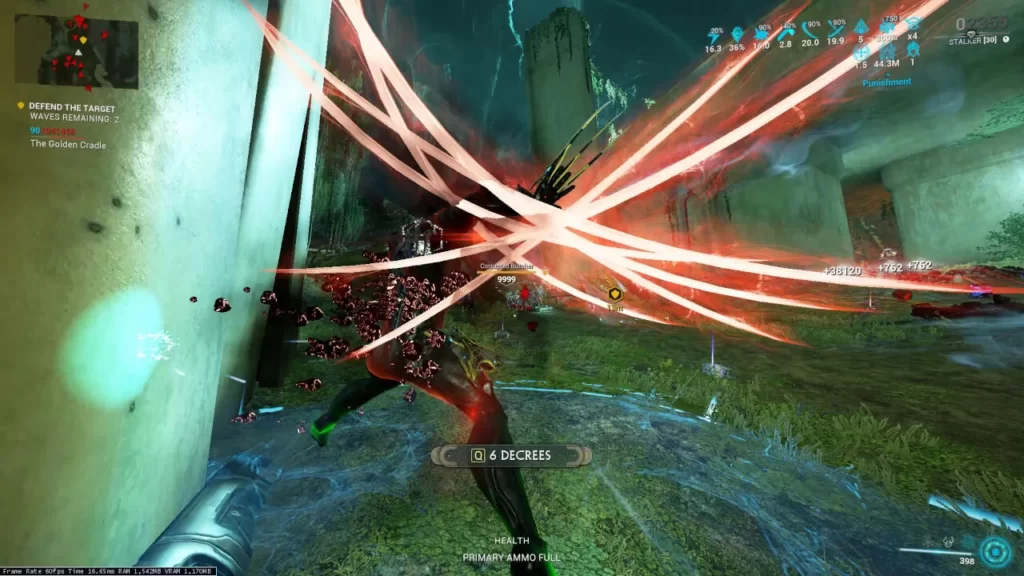
Recommended Defense Positions (Work in Progress)
I saw your youtube video, what novel use of what I previously thought as useless.
Thank you, I also thought he was useless at first.